MeshCAM Day 1 - STL Machining
(NOTE: This tutorial is for MeshCAM V9, if you’re looking for V8, click here )
This is the first of a several tutorials to introduce you to MeshCAM. Feel free to print this for later use or follow along now. If you choose to follow along, you can download the STL file or get it as a ZIP file
1. Load the File
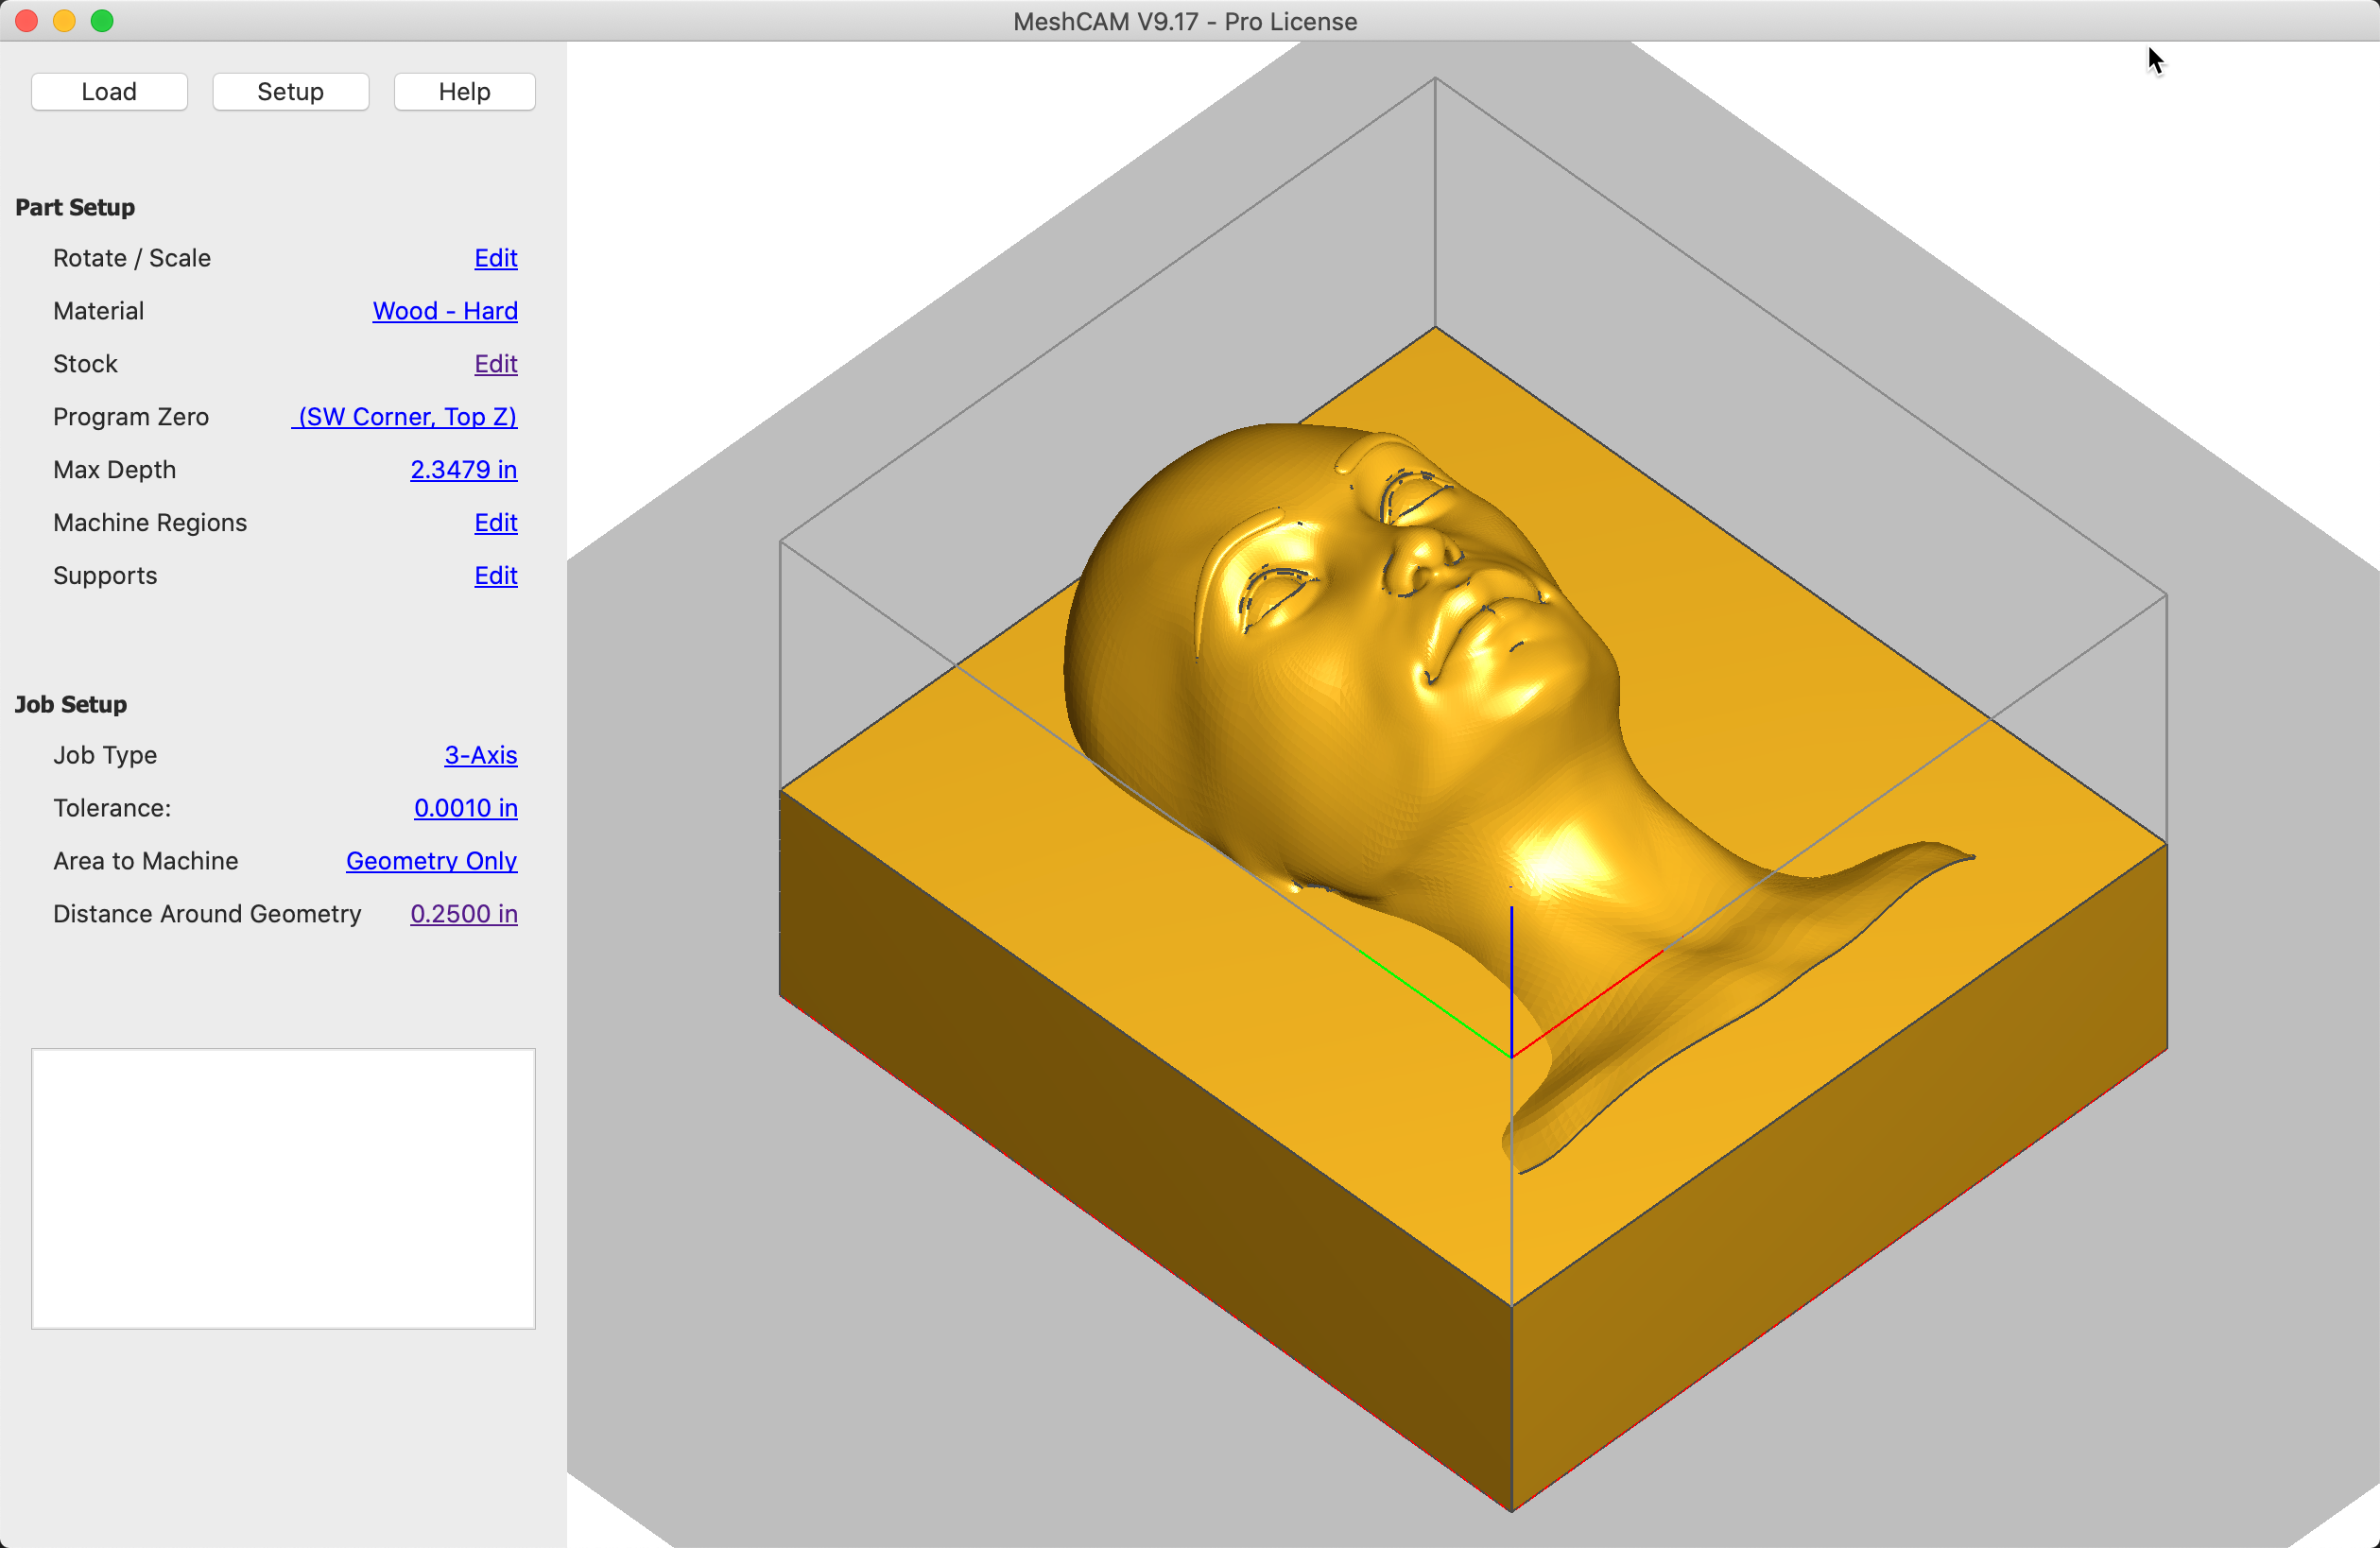
- From the top menu, click Open and select the STL file that you downloaded above.
- In the popup, select File is Inch.
- Click Ok to accept the default orientation.
2. Create a Tool
MeshCAM needs to know what tool you plan on using to cut the geometry so it can properly calculate a toolpath.
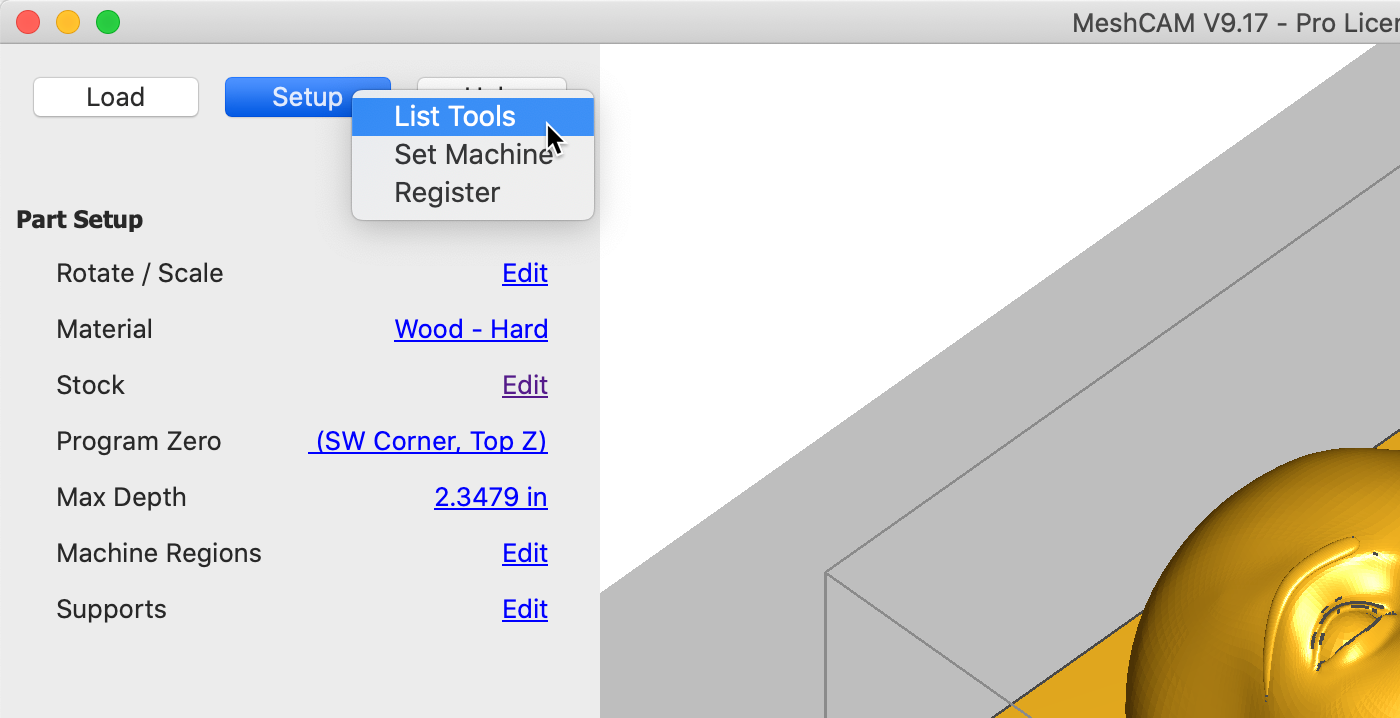
- In the top left side of the window, click Setup
- Click List Tools
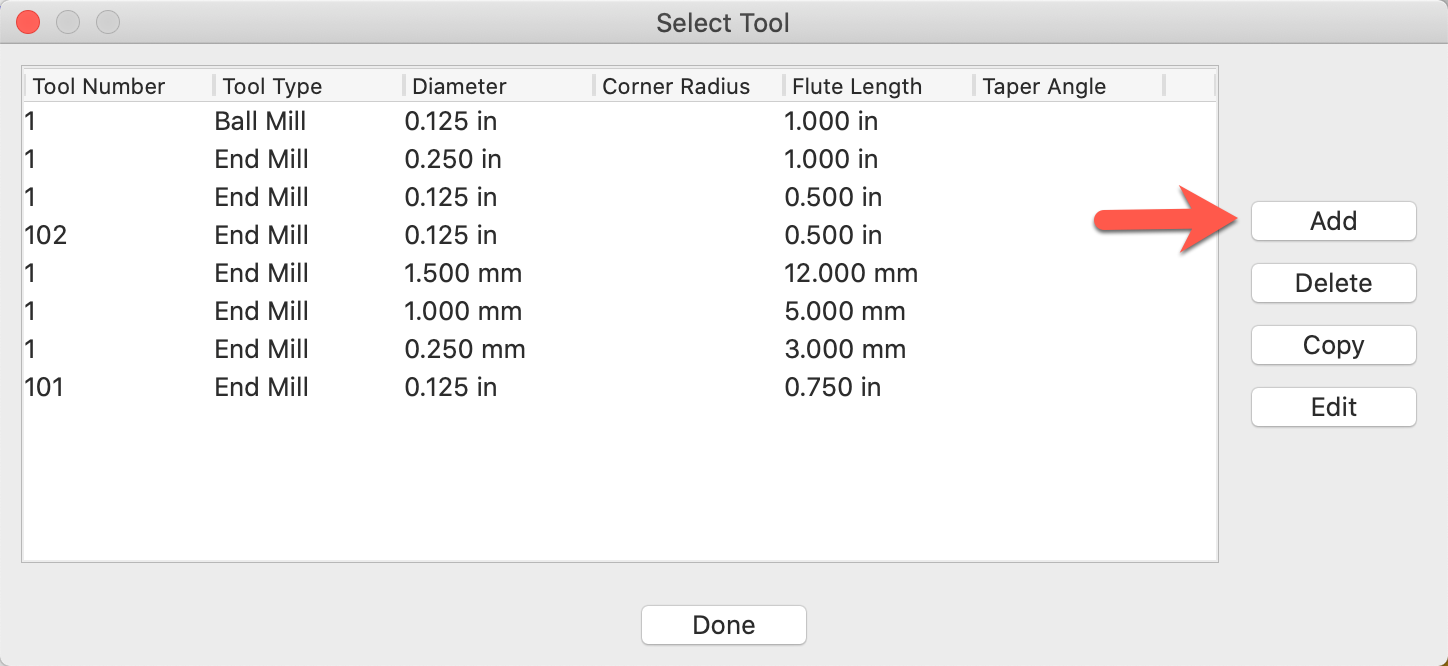
- Click Add to add a new tool

- Copy the settings shown above.
- Click OK
- Close the tool list window
3. Set Machine
MeshCAM has a number of machine configurations built-in to help calcualte starting values for speeds and feeds.
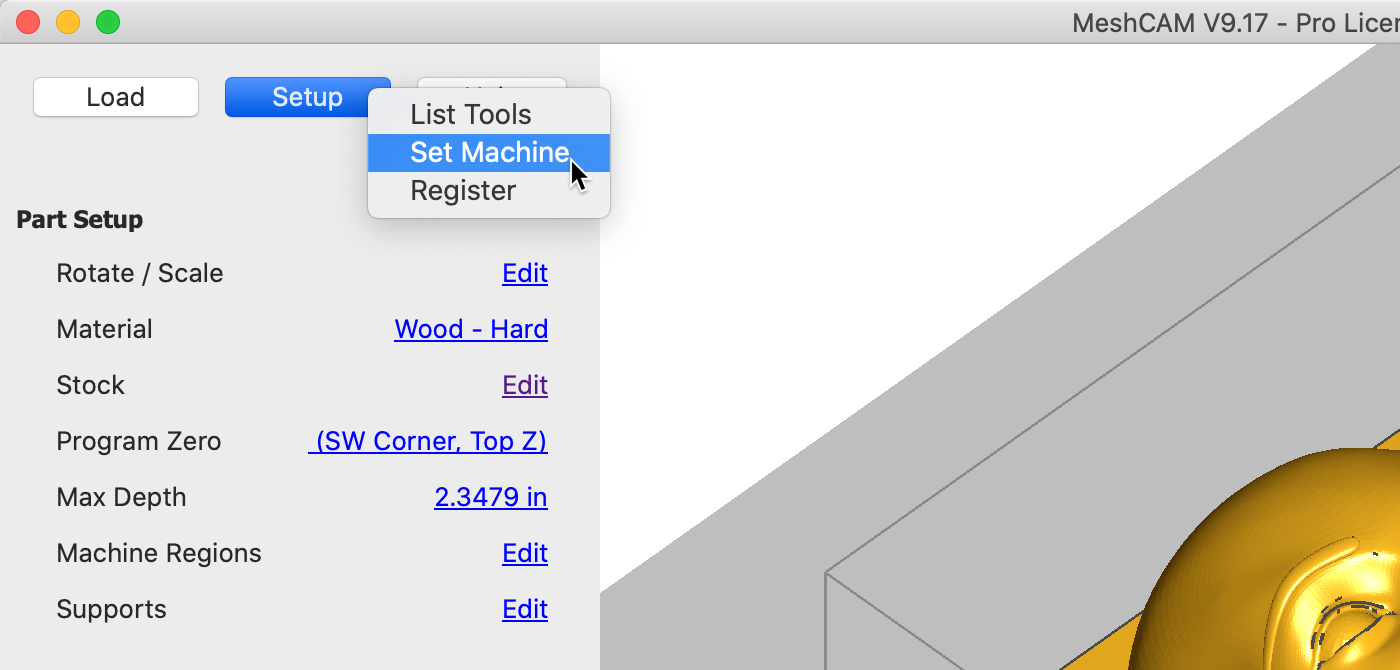
- Click Setup->Set Machine
- Click Shapeoko
4. Global Settings
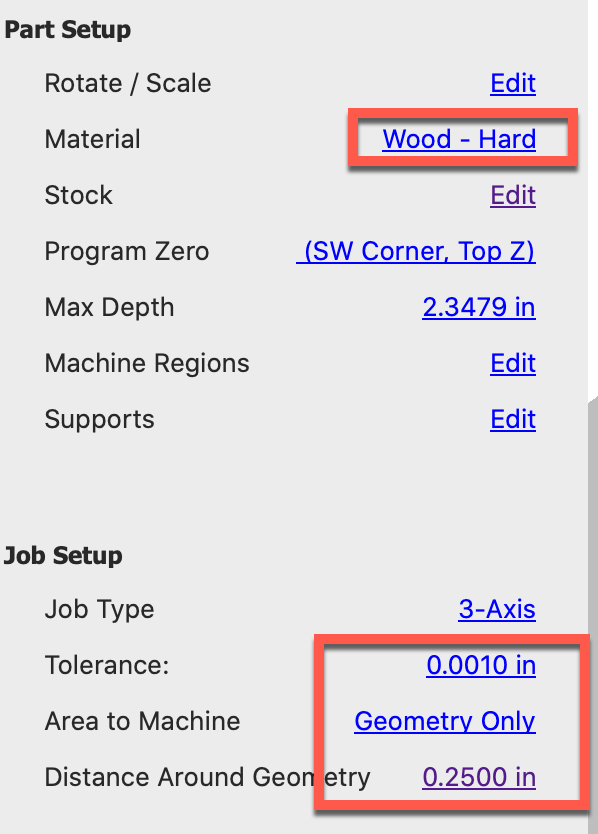
The global settings part of the toolpath dialog defines a few items that affect every toolpath that is generated.
- On the left hand side of the screen, click on the Material value
- Pick Wood - Hard
- On the left hand side of the screen, click on the Tolerance value
- Enter a tolerance value of .001 in
- On the left hand side of the screen, click on the Area to Machine value
- Click Geometry Only
- On the left hand side of the screen, click on the Distance Around Geometry value
- Enter a value of .25 in
MeshCAM will attempt to pick sensible speeds and feeds for your project based on the machine and material you pick. It’s fine to pick your machine or something closer to your machine and material instead of Shapeoko and hard wood. Just be aware that if you do so, you’ll end up with different values for speeds and feeds below.
5. Create a Toolpath
For a project like this, we’ll create both a roughing toolpath and a finishing toolpath. Roughing has the task of removing material as quickly as possible while finishing has the task of making the machined surface match your model.
- On the top menu, click Toolpaths->Roughing
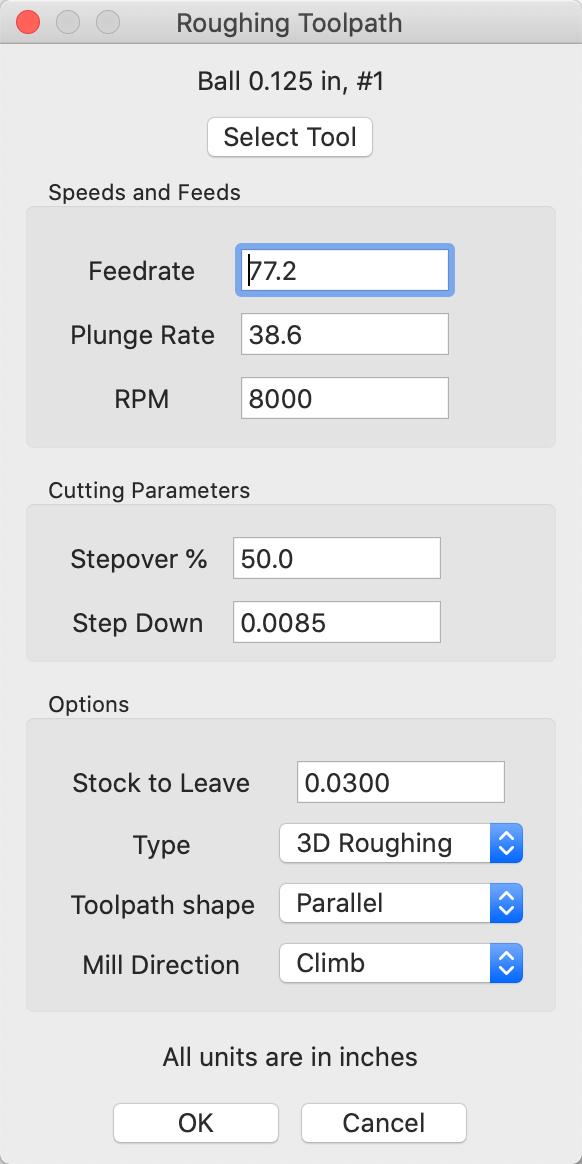
- Click the SelectTool button
- Pick the #1 Ball mill you created above
MeshCAM will pick approximate speeds and feeds based on your cutter, the machine, and the material you picked. Feel free to override these values anytime you need to.
- Enter the same values in the “Options” section as the image above.
- Click Ok
- On the top menu, click Toolpaths->Unified Finishing
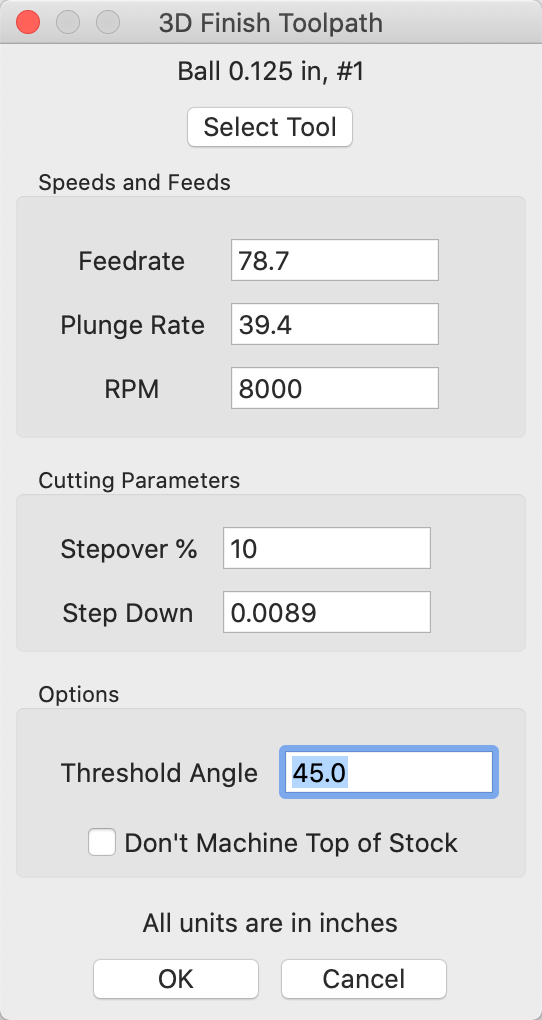
- Click the SelectTool button
- Pick the #1 Ball mill you created above
- Enter the same values in the “Options” section as the image above.
- Enter 10 for the Stepover % value
- Click Ok
6. Calculate Toolpaths
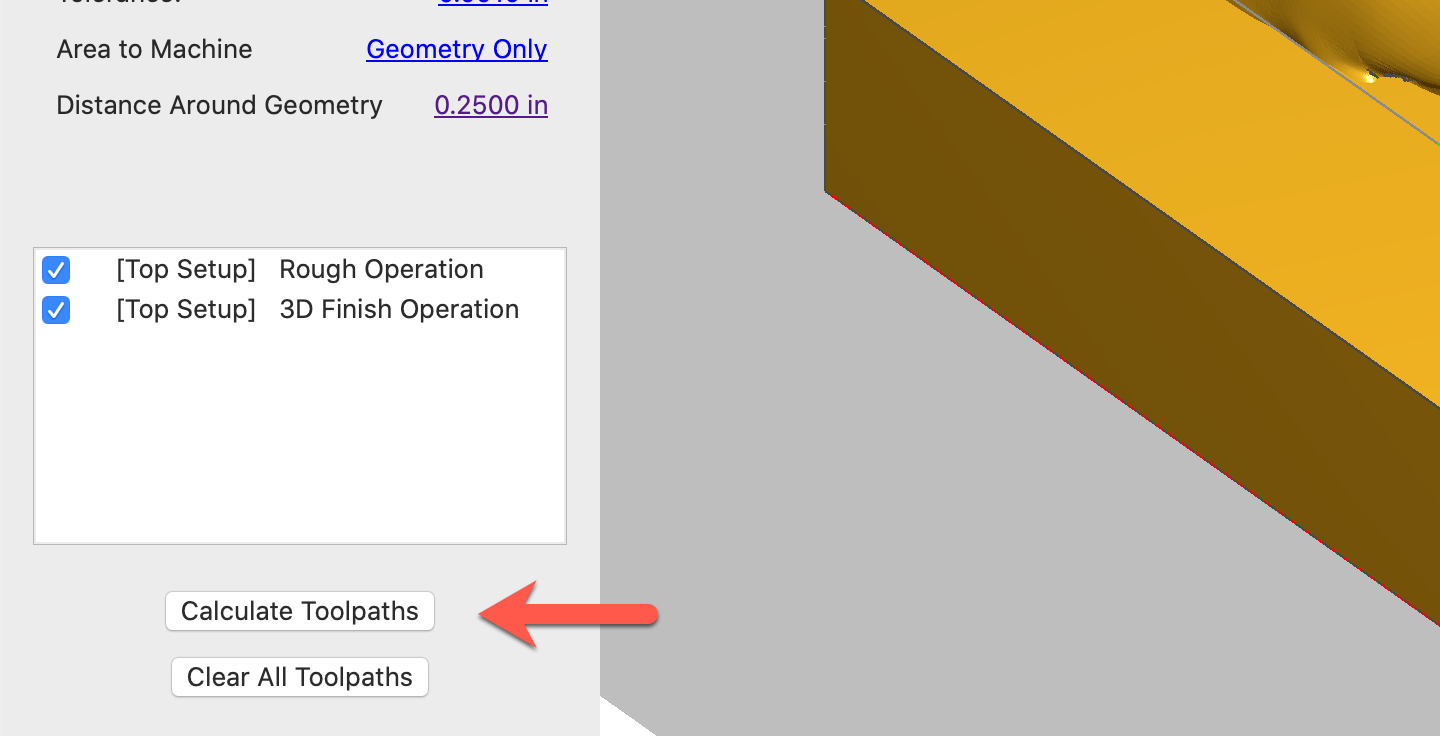
Your two toolapths should be shown in the left pane.
- Click Calculate Toolpaths
7. Preview the Toolpath
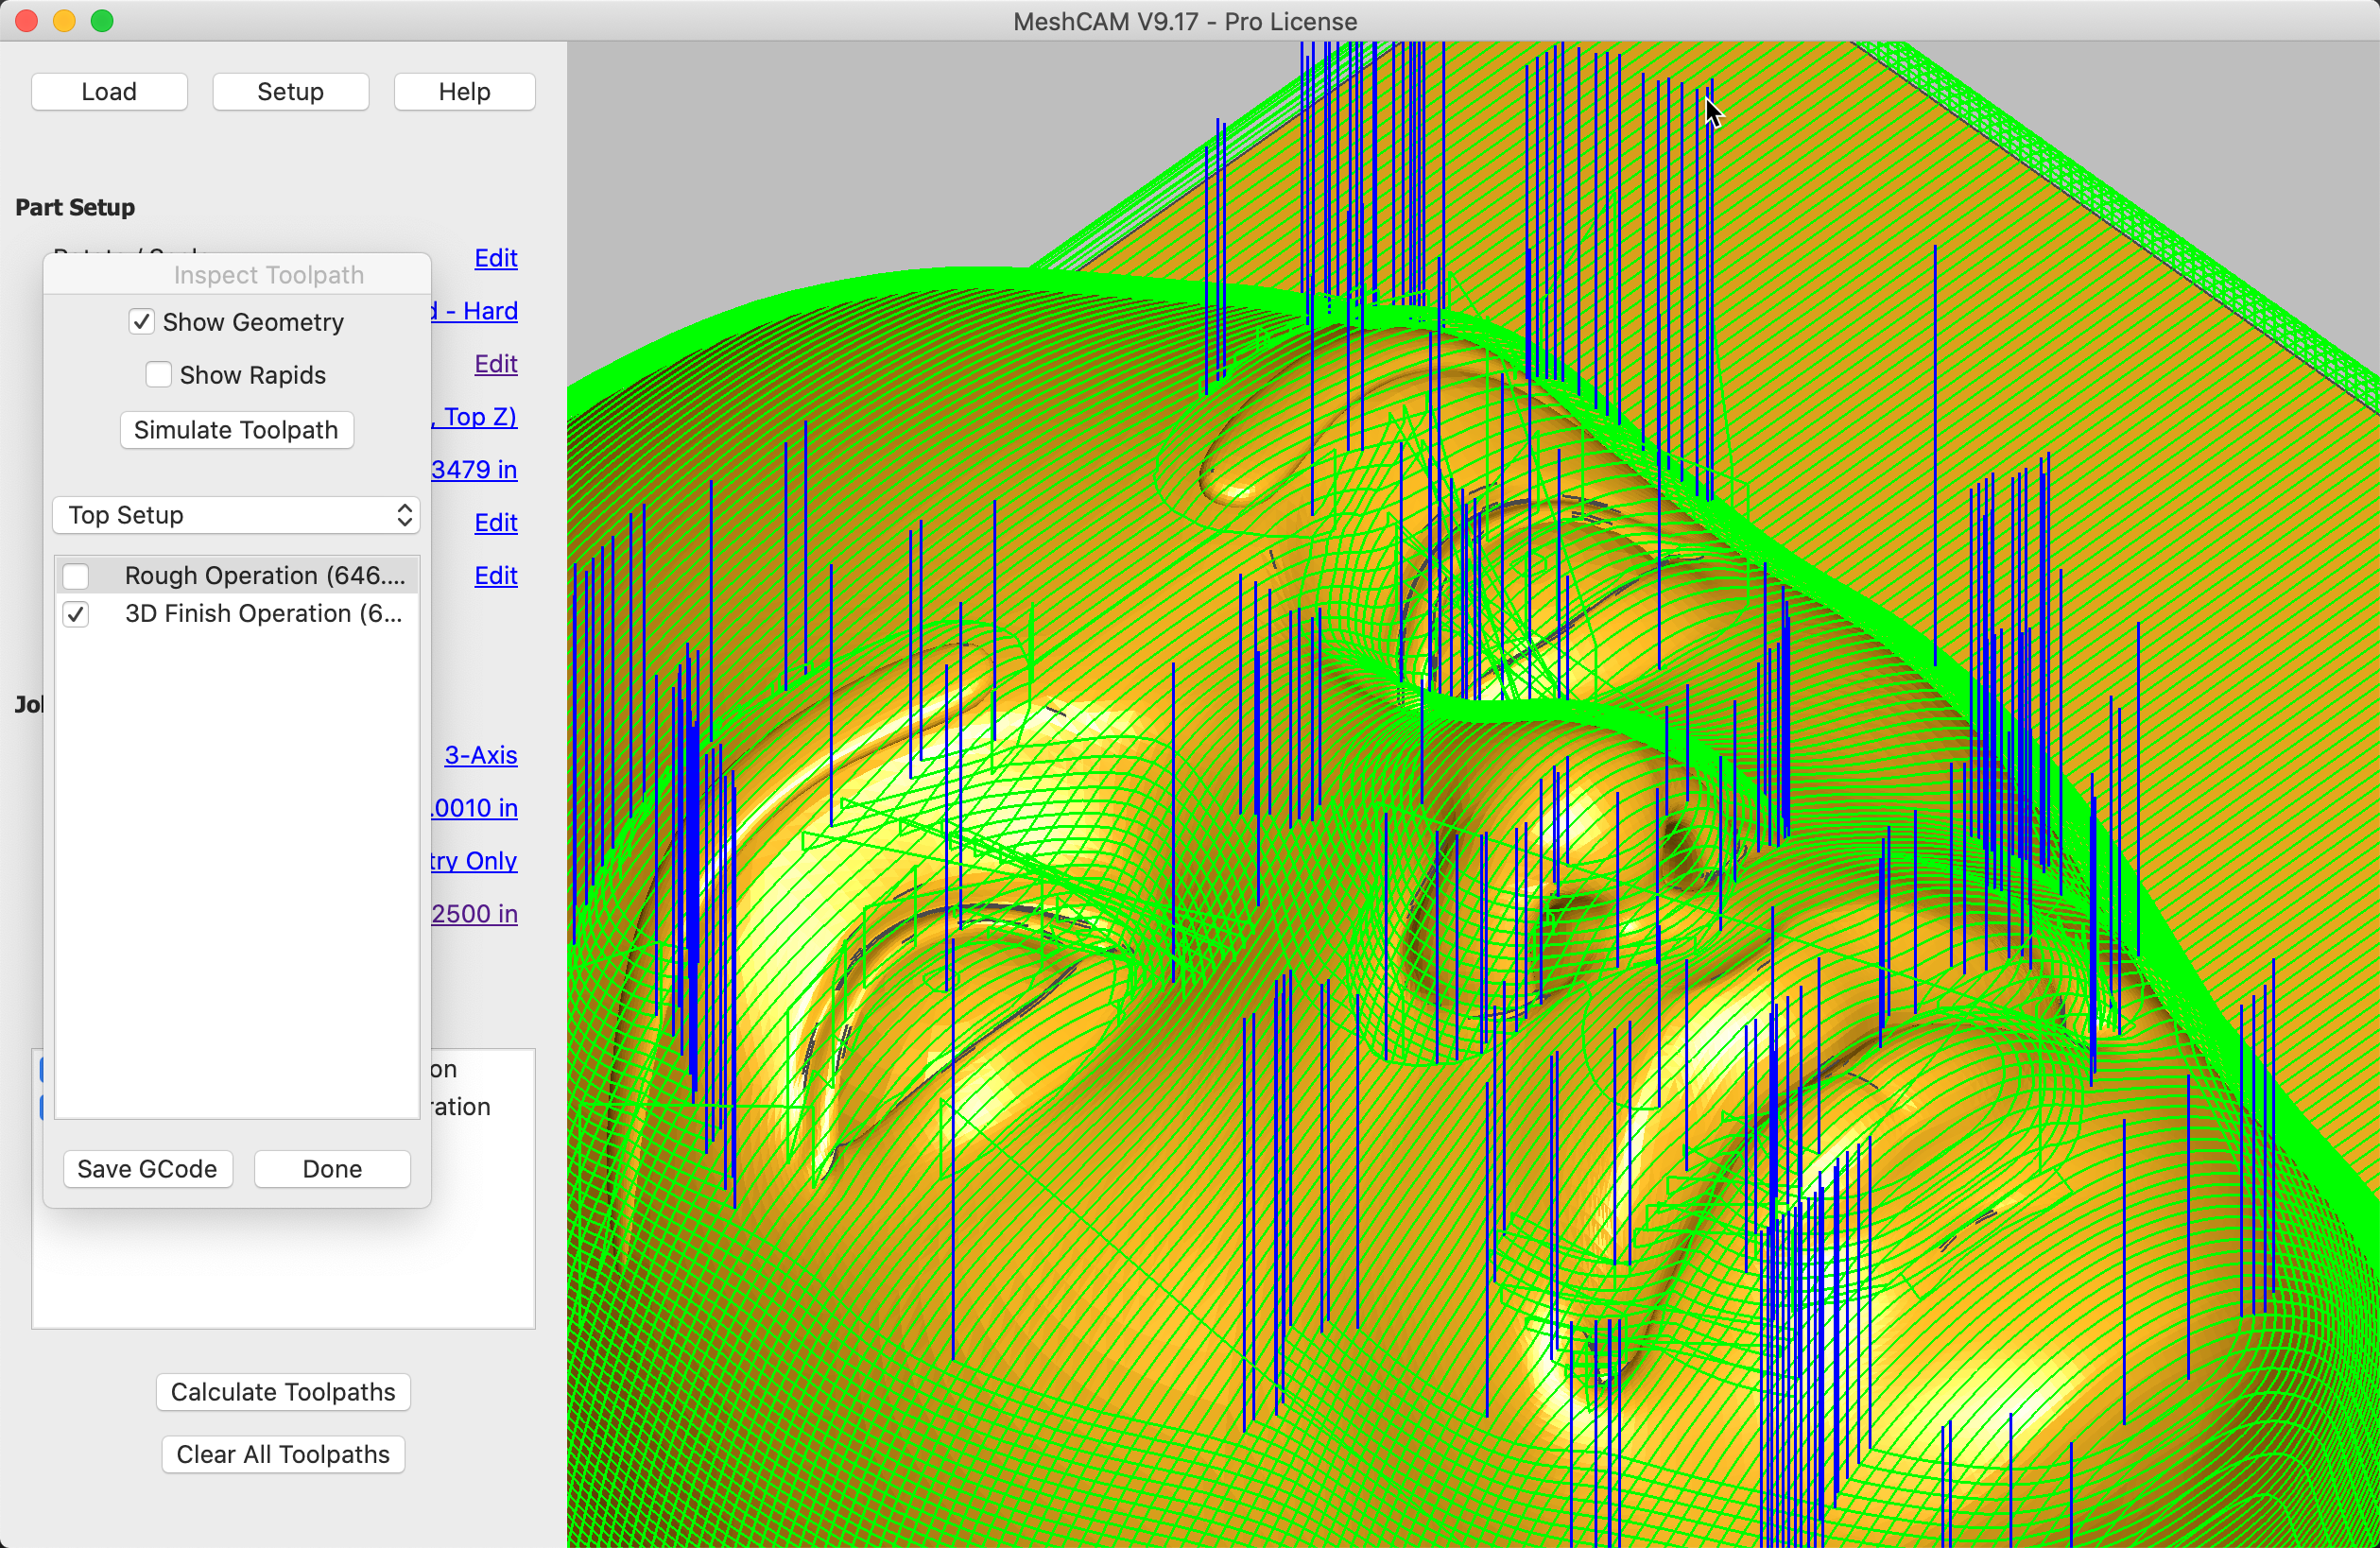
Once the toolpath apprears in the 3D window, you move the view to get a closer look at any parts you want to see in more detail. If you would like to disable either the roughing or finishing then you can uncheck them in the Inspect Toolpath dialog box. Be sure to recheck both roughing and finishing them before moving on or they will not be saved in the gcode file.
9. Simulate Toolpath (MeshCAM Pro Only)
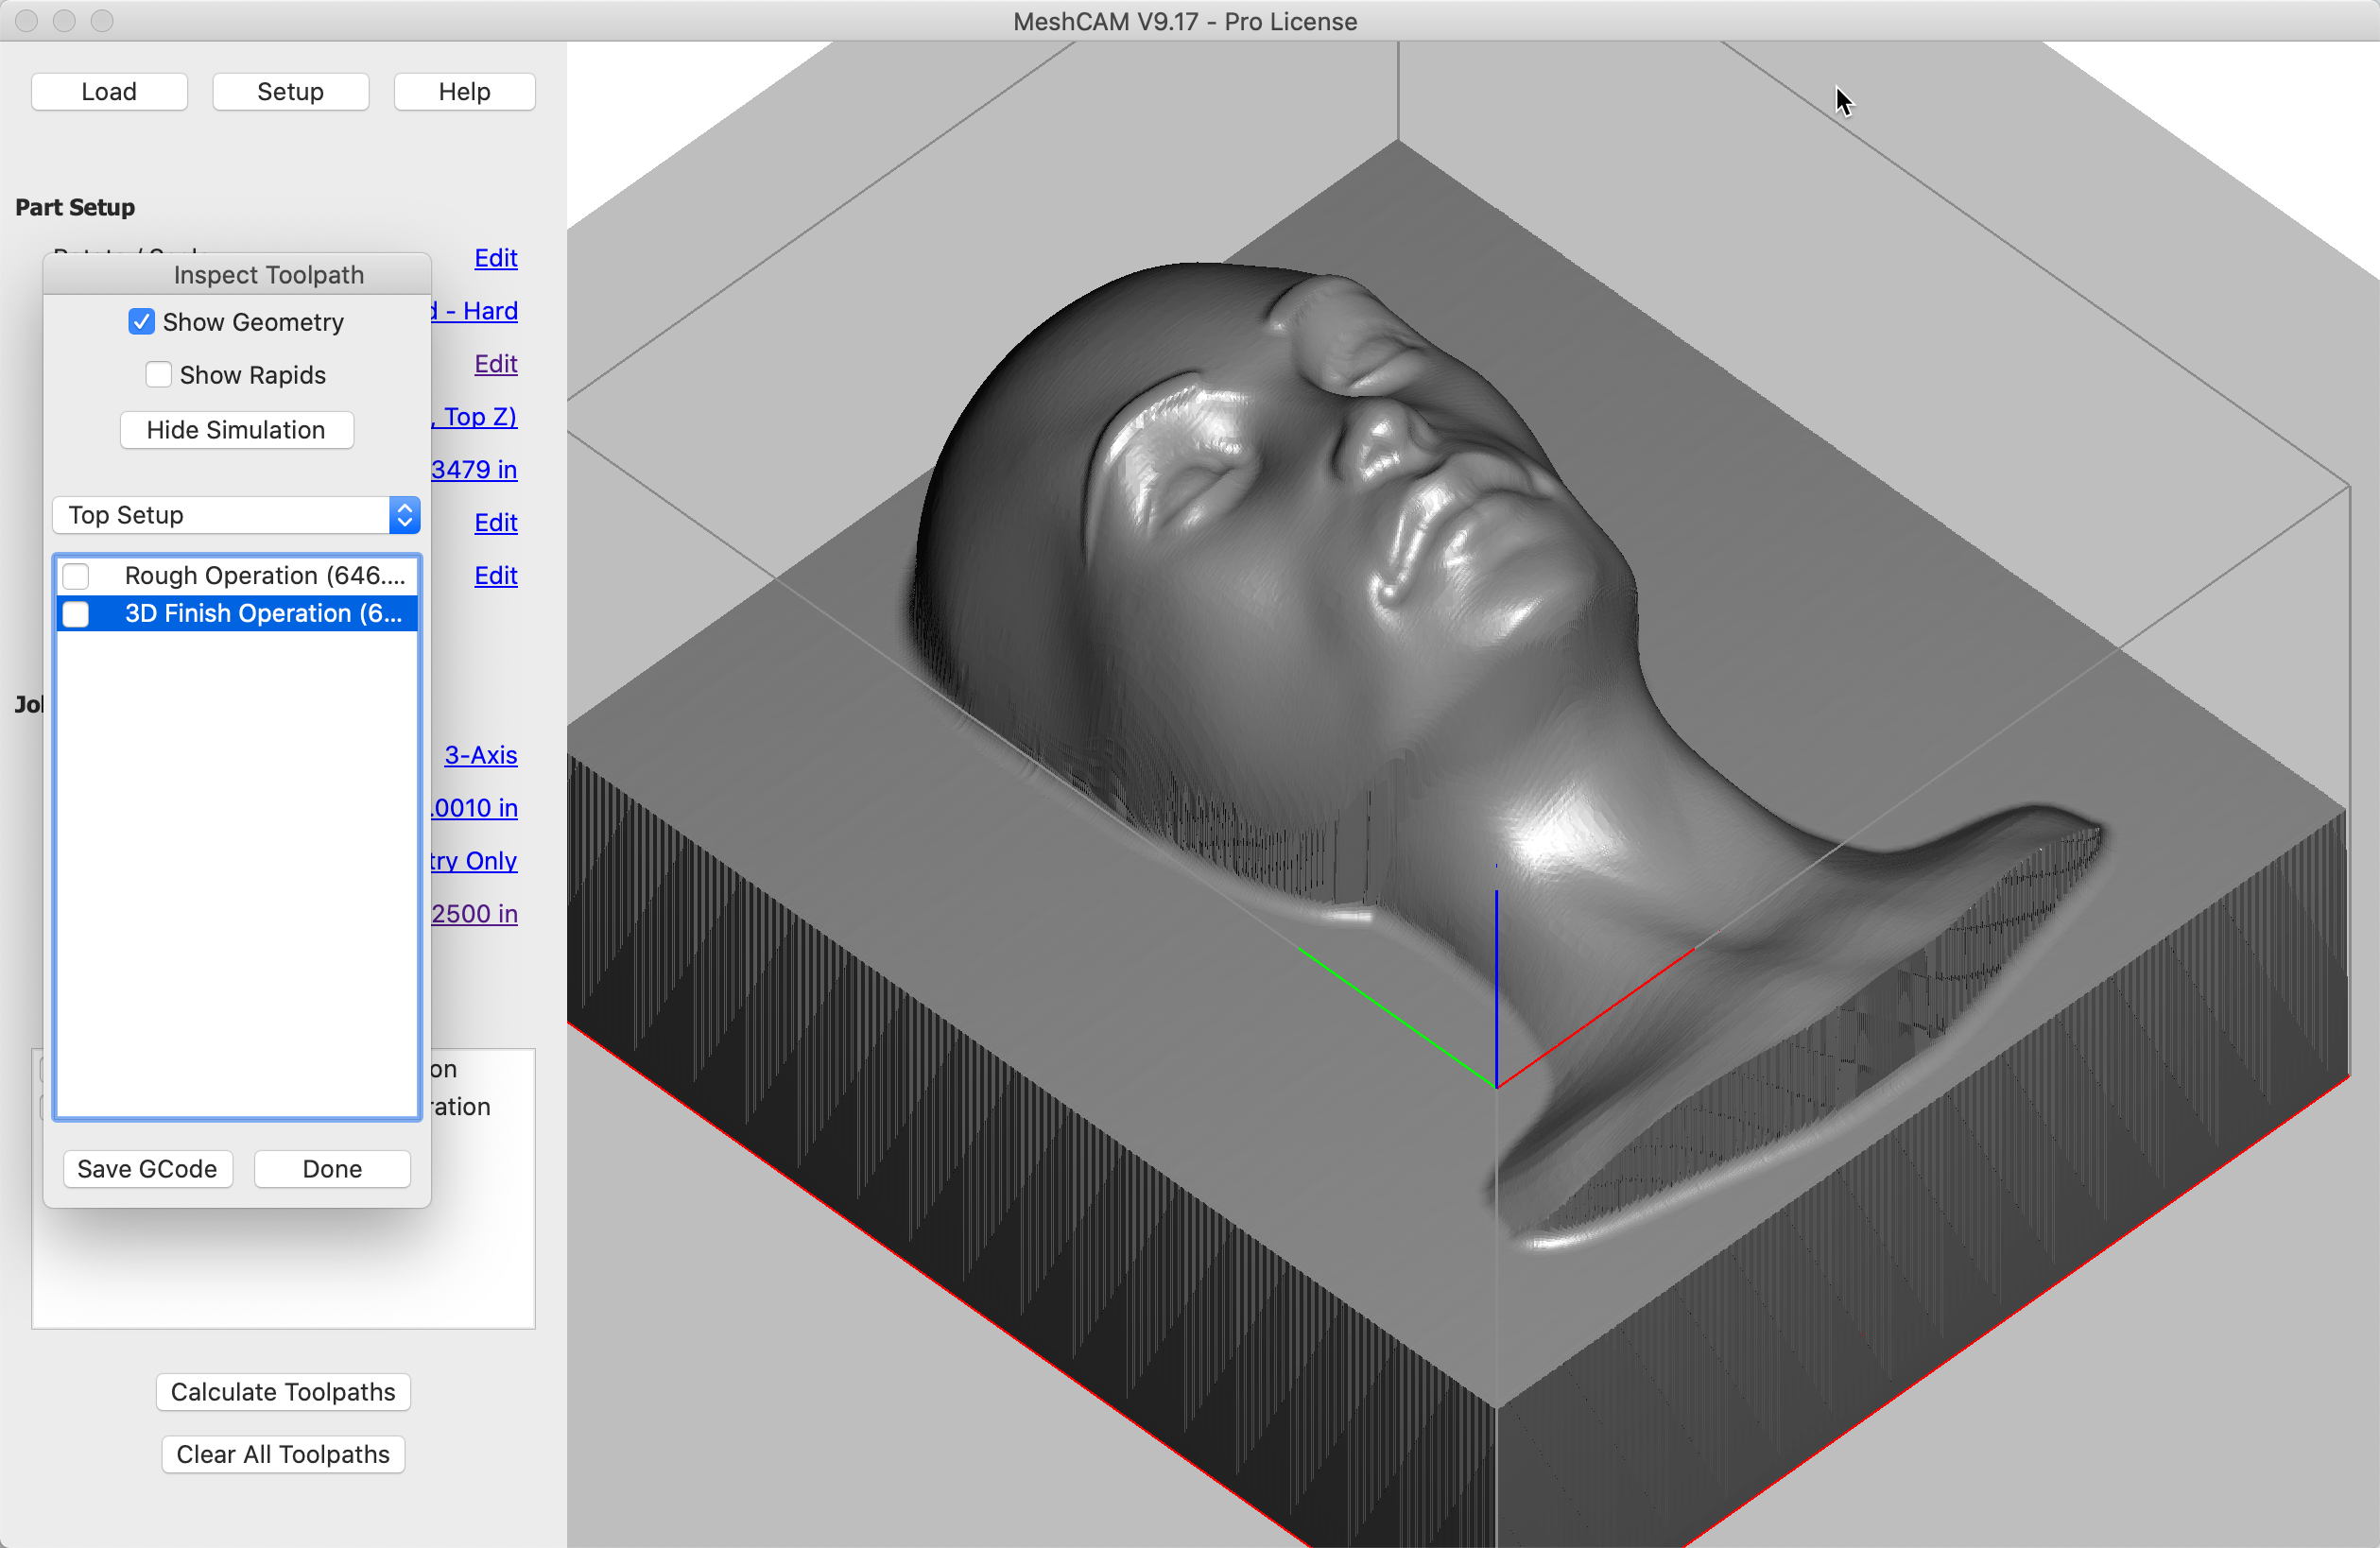
If you’re running MeshCAM Pro you have the option to show a full 3D simulation of the toolpath
- Click Simulate Toolpath
10. Save the Gcode

MeshCAM comes with a bunch of post processors that tell it how to format the gcode for your machine controller so it’s important to pick the right one. If you have any doubts, pick Basic-Gcode or Mach3. Both are fairly generic and work with most machines.
- Click Save
- Pick the correct post processor in the Save as type drop down menu.
- Enter a filename
- Click Save
- Go load the gcode into your machine!
Conclusion
Hopefully you will found it easy to generate a toolpath for a complex geometry. If you would like to try running this part on your own machine then you may want to change the feedrates to something more suitable for your particular machine.
If you’re new to CNC machining then the best advice I can give is that you take the time to experiment with the values entered above and see how the toolpaths vary. A little experimentation will get you up the learning curve very quickly.